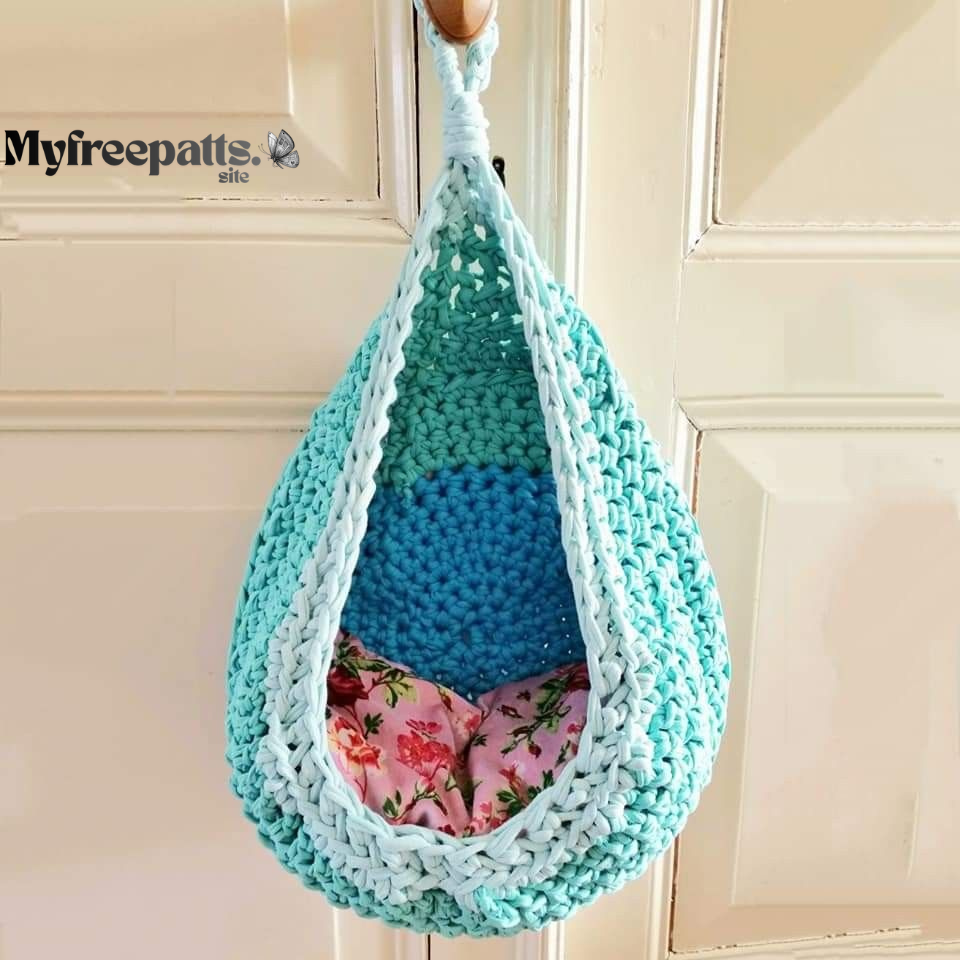
If you’re new to crochet and want a project that’s practical, quick, and satisfying, a crochet basket is the perfect place to start. These simple baskets are great for organizing your home, storing yarn, holding toys, or decorating shelves — and they look beautiful in any room.
In this beginner-friendly guide, you’ll learn how to crochet an easy basket using basic stitches and sturdy yarn, with step-by-step instructions you can follow with confidence.
Why Crochet a Basket?
Crochet baskets are one of the most useful handmade items you can make.
Here’s why beginners love them:
✔ Simple stitches and repetitive pattern
✔ Works up quickly
✔ Helps you practice crocheting in the round
✔ Functional and decorative
✔ Easy to customize in size and color
Plus, they make wonderful handmade gifts.
Skill Level
Beginner
If you know how to make a chain and single crochet, you can make this basket.
Materials You’ll Need
- Super bulky yarn or two strands of worsted weight yarn held together
(Cotton yarn is best for structure) - Crochet hook – 8.0 mm (L) or size that creates tight stitches
- Scissors
- Yarn needle
Tip: A tight stitch is important so your basket holds its shape.
Stitches & Abbreviations
- ch – chain
- sc – single crochet
- sl st – slip stitch
Finished Size
Approx. 6 inches (15 cm) wide and 4 inches (10 cm) tall
(Size can easily be adjusted — instructions below!)
Free Easy Crochet Basket Pattern
This basket is worked in continuous rounds — no joining at the end of each round.
Round 1 – Start the Base
Make a magic ring
Work 6 sc into the ring
Pull tight
(6 stitches)
Round 2 – Increase
Work 2 sc in each stitch around
(12 stitches)
Round 3
1 sc in next stitch, 2 sc in next stitch
Repeat around
(18 stitches)
Round 4
1 sc in next 2 stitches, 2 sc in next stitch
Repeat around
(24 stitches)
Round 5
1 sc in next 3 stitches, 2 sc in next stitch
Repeat around
(30 stitches)
Your base should now be flat. If you want a larger basket, continue increasing in this pattern.
Turning the Base into Sides
This step creates the sharp edge that helps the basket stand up.
Round 6 – Back Loop Only
Work 1 sc in each stitch around, in the back loop only
This round forms the fold where the sides begin.
(30 stitches)
Building the Basket Walls
Rounds 7–12
Work 1 sc in each stitch around (normal stitch, both loops)
Continue until the basket reaches your desired height.
Optional: Add Simple Handles
Handle Round
- Sc in next 5 stitches
- Ch 5
- Skip 5 stitches
- Sc in next 10 stitches
- Ch 5
- Skip 5 stitches
- Sc in remaining stitches
Next round: Work 1 sc in each stitch and 5 sc into each chain space.
This creates two sturdy handles.
Finishing
- Slip stitch into next stitch
- Fasten off
- Weave in all ends securely
Your basket will become sturdier as it settles.
How to Adjust the Size
Want a bigger basket?
Keep increasing the base for more rounds before starting the sides
Add more rounds to make it taller
Want a mini basket?
Stop increasing earlier
Make fewer side rounds
Color & Style Ideas
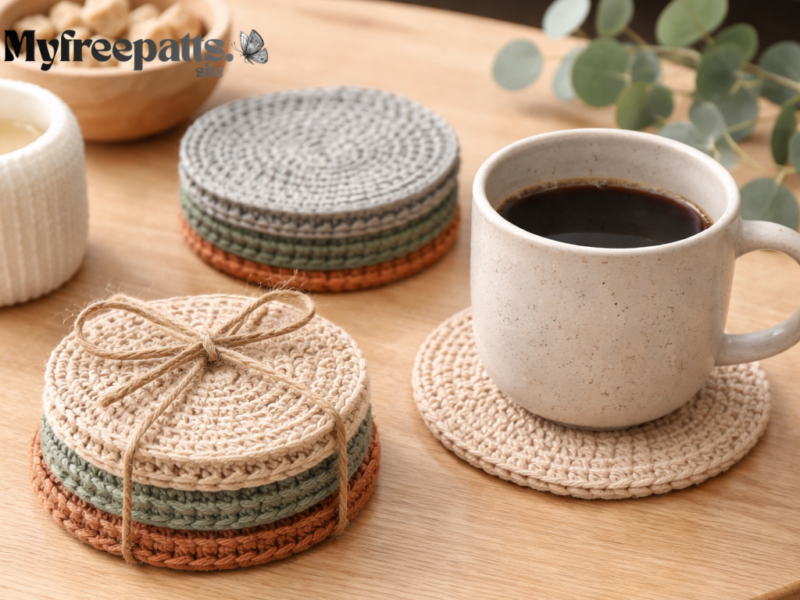
For a modern home look, try:
- Neutral tones (cream, beige, gray)
- Earthy shades (terracotta, olive, mustard)
- Two-tone baskets (one color for base, one for sides)
You can also fold the top edge down for a stylish rim.
What Can You Use Crochet Baskets For?
These baskets are perfect for:
Yarn storage
Bathroom essentials
Kids’ toys
Socks and small clothing items
Plant pot covers (use a liner inside)
Care Instructions
✔ Spot clean with a damp cloth
✔ Hand wash if needed
✔ Reshape while damp and air dry
Final Thoughts
Crochet baskets are one of the most beginner-friendly and useful projects you can make. They help you practice working in the round, create structure with tight stitches, and produce something beautiful and practical at the same time.
Once you make one, you’ll want to make more in different sizes and colors — they’re that addictive.
Grab your yarn and hook and start your first crochet basket today